User Guide: Generate Output Data
This guide will walk through how to annotate output files generated by a custom tool, with previews, metadata, and tags.
By default, when a tool runs, IDEAS checks if any files are generated in the output directory and makes them available in a default output column of the tool analysis table. For simple use cases where you want to easily generate and examine result files, this approach should suffice without any additional effort from the tool developer.
IDEAS does however offer advanced functionality for annotating tool outputs in order to improve usage. This is particularly notable in Inscopix tools. The types of output annotations include:
- Previews: Figures providing an overview of result files. Previews allow users to understand results of a tool quickly within IDEAS without having to download and examine the files on their local computer.
- Metadata: Any data about results files, structured as a flat dictionary of key, value (primitive data types only) pairs. For example, metadata can describe the average value of a particular metric stored in a result file, or describe the total number of observations recorded, etc.
- Tags: Categorical labels to assign to result files.
Read about IDEAS tool outputs in more detail here.
Prerequisites
Ensure you have followed the first user guide and created your own custom tool.
Step 1: Create New Tool Version
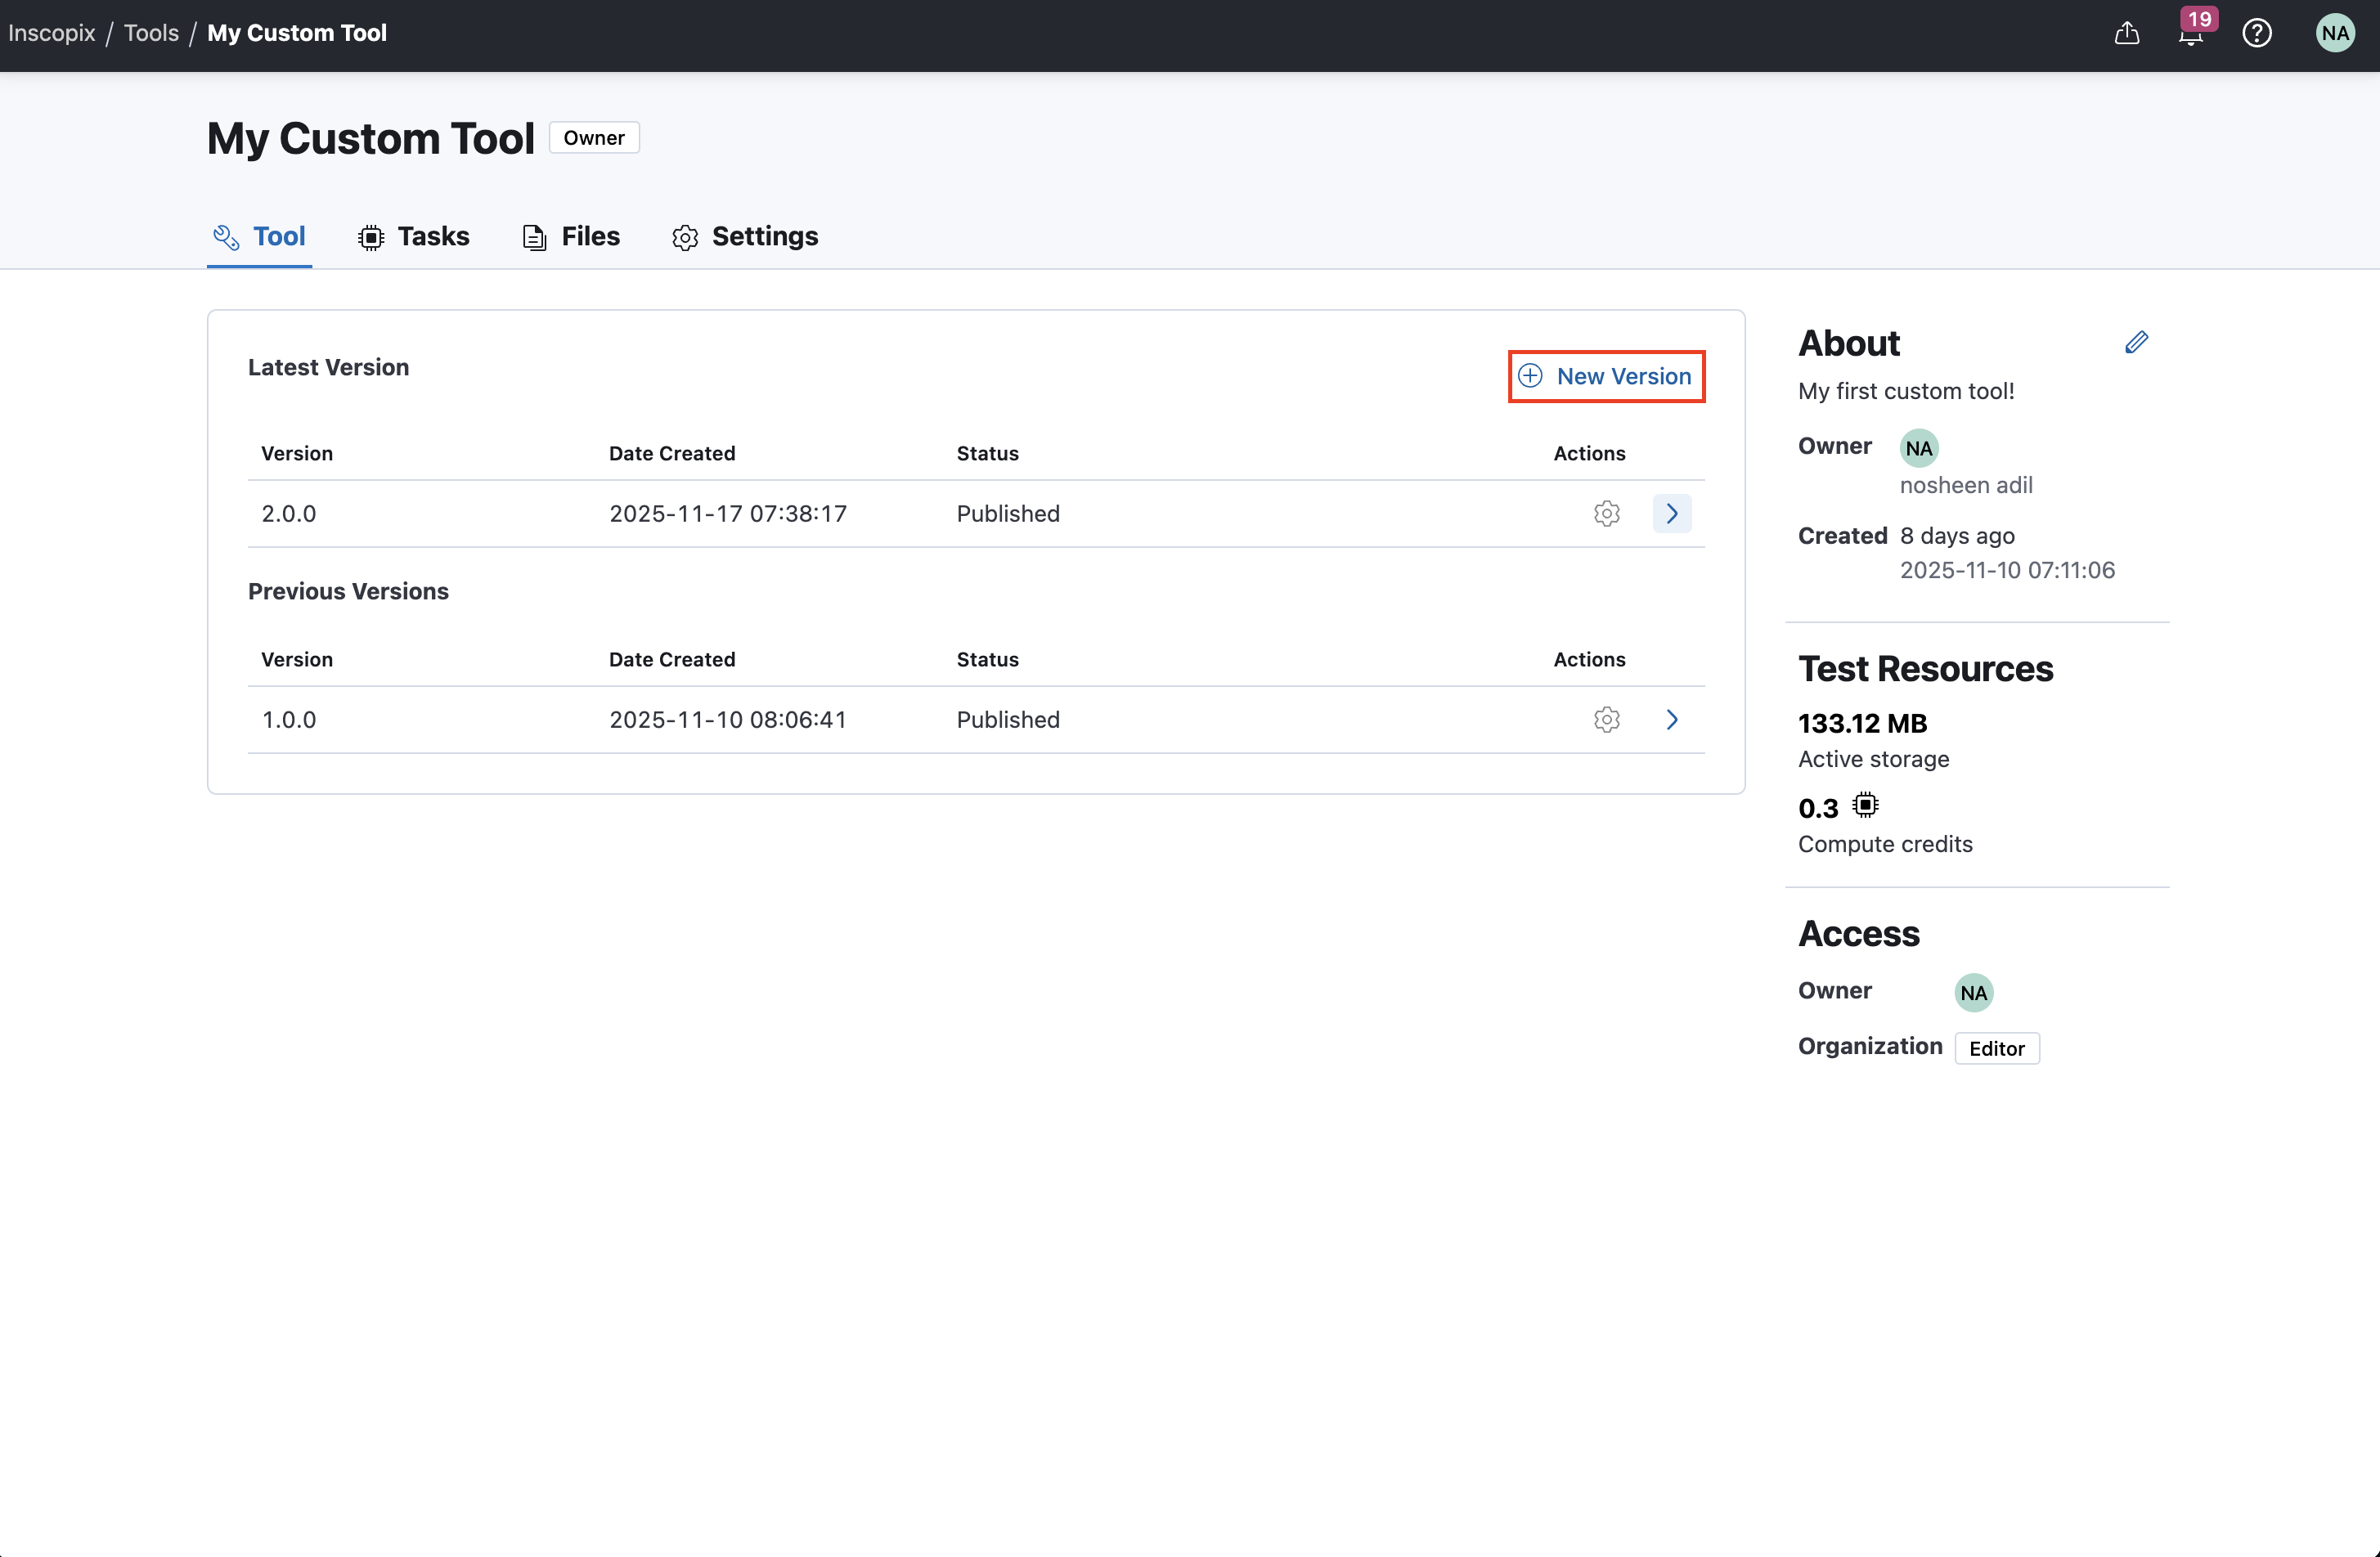
First, start by creating a new version of your custom tool in IDEAS. In the tool library, select your custom tool.
In the tool project page, select the New Version button. This will open the tool publisher for a new draft version of the tool.
Step 2: Install IDEAS Python API in Container Image
Next, transition to your local development environment. Start by ensuring the IDEAS Python API is installed in the container image used by your tool. If the container image is an Inscopix container, then the IDEAS Python API is guaranteed to be installed. If the container image is a custom container, ensure the ideas-python package is installed. Follow this user guide for more details on creating a custom container in IDEAS.
Step 3: Register Output Data with IDEAS Python API
Once the IDEAS Python API is available in the container image, modify your tool code to register output data.
To register you must call on the ideas.tools.outputs.register function, which returns a context manager object.
You can register output files by calling the function register_file on the context manager.
For example, in the following code snippet, the tool code registers an output file named result.txt as a result file.
This output file can be annotated by chaining calls to register previews, metadata, and tags with the result file, outlined in the sections below.
from ideas.tools import outputs

def tool_function(...):
    # generate results
    ...

    # done processing, register outputs
    with outputs.register() as output_data:
        output_data.register_file(
            "result.txt",
        ).register_preview(
            ...
        ).register_metadata(
            ...
        ).register_tags(
            ...
        )
Both absolute and relative file paths are supported
Result file paths can be either absolute, or relative to the output directory. If the file path is not absolute, the file is assumed to be relative to the output directory. If the file path is absolute, the file is moved to the output directory and registered as a result of the tool. Currently IDEAS only supports registering output files from the output directory, which is why files are moved to the output directory if an absolute path is provided.
Use prefixes and suffixes
When registering a file, you can specify a prefix or suffix to add to the file basename, to further annotate the filename for readability in IDEAS.
For example, the following code snippet registers two result files based on two user input conditions.
On registration with the IDEAS Python API, a prefix is passed with the user input condition, and a suffix is passed for the type of result (in this case a metrics csv file).
If the conditions passed to the tool were ["baseline", "drug"], the two result files would be renamed to baseline_first_condition_results-METRICS.csv and drug_second_condition_results-METRICS.csv.
from ideas.tools import outputs

def tool_function(
    conditions: List[str],
    ...
):
    # generate results
    ...

    # done processing, register outputs
    with outputs.register() as output_data:
        output_data.register_file(
            "first_condition_results.csv",
            prefix=f"{conditions[0]}_",
            suffix="-METRICS"
        )

        output_data.register_file(
            "second_condition_results.csv",
            prefix=f"{conditions[1]}_",
            suffix="-METRICS"
        )
Alternatively, you can name the output files whatever you want on file creation in the tool code, and not rename using prefixes or suffixes. The choice depends on your preference.
Step 3a: Register Previews
Calling register_file returns an output file object, which can be chained with further calls to register previews. To register a preview figure for a particular result file, call register_preview on the output file object. These registration calls can be chained one after another for convenience.
from ideas.tools import outputs

def tool_function(
    conditions: List[str],
    ...
):
    # generate results
    ...

    # done processing, register outputs
    with outputs.register() as output_data:
        output_data.register_file(
            "result.txt",
        ).register_preview(
            "figure1.svg",
            caption="A very special figure!"
        ).register_preview(
            "figure2.png",
            caption="Another cool figure!"
        ).register_preview(
            "movie.mp4",
            caption="A movie preview too!"
        )
The same preview can be registered to more than one result file
There is no restriction to how many result files a preview file can be assigned to.
Both absolute and relative file paths are supported
Similar to result files, preview file paths can be either absolute or relative.
Use prefixes and suffixes
Similar to result files, preview files can be renamed using prefixes and suffixes.
For example, the following code snippet would result in figure.svg being renamed to map_figure-PLOT.svg, and movie.mp4 being renamed to movement_movie-DRUG.mp4
from ideas.tools import outputs

def tool_function(...):
    # generate results
    ...

    # done processing, register outputs
    with outputs.register() as output_data:
        output_data.register_file(
            "result.txt",
        ).register_preview(
            "figure.svg",
            caption="A very special figure!"
            prefix="map_",
            suffix="-PLOT"
        ).register_preview(
            "movie.mp4",
            caption="A movie preview too!"
            prefix="movement_",
            suffix="-DRUG"
        )
Step 3b: Register Metadata
Similar to previews, metadata can be registered on the output file object returned by register_file. To register a single entry of metadata for a particular result file, call register_metadata on the output file object. To register a whole dictionary of metadata, call register_metadata_dict, which can be used to efficiently register more than one entry at once.
from ideas.tools import outputs

def tool_function(...):
    # generate results
    ...

    # done processing, register outputs
    with outputs.register() as output_data:
        output_data.register_file(
            "result.txt",
        ).register_metadata(
            key="my_special_key",
            value=42,
            name="My important metadata"
        ).register_metadata_dict(
            **{"key1" : "cool", "key2", "beans"}
        ).register_metadata_dict(
            another_special_key="foo",
            even_cooler_key="bar"
        )
The example code snippet above would result in the following metadata registered for result.txt:
| Key | Display Name | Value |
|---|---|---|
| my_special_key | My important metadata | 42 |
| key1 | Key1 | cool |
| key2 | Key2 | beans |
| another_special_key | Another Special Key | foo |
| even_cooler_key | Even Cooler Key | bar |
What's the difference between key and display name for metadata?
The key is a unique identifier for metadata that can be used within and across various tools. The display name is a user friendly name for the metadata to show in IDEAS.
By default, the IDEAS Python API generates a display name for metadata by replacing - and _ in the key with spaces, and capitalizing each word.
This can be overridden by specifying name= when calling register_metadata.
Step 3c: Register Tags
Similar to previews and metadata, tags can be registered on the output file object returned by register_file. To register one or more tags for a particular result file, call register_tags on the output file object.
from ideas.tools import outputs

def tool_function(...):
    # generate results
    ...

    # done processing, register outputs
    with outputs.register() as output_data:
        output_data.register_file(
            "result.txt",
        ).register_tags(
            "custom-data-type",
            "heisenberg-lab",
            "neural",
            "isxd"
        )
Step 3d: Validate Output Registration Locally
Once the tool code has been modified with calls to register result files, run the tool locally with the IDEAS CLI to test the changes:
ideas tools run <tool-key>
If execution is successful, a table should be printed to the console summarizing the result files generated by the tool, along with the previews and metadata registered with each file by the IDEAS Python API.
┏━━━━━━━━━━━━━━━━━━━━━━━━━━━━━━━━━━━━━━━━━━━━┳━━━━━━━━━━━━━━━━━━━━━━━━━━━━━━━━━━━━━━━━━━━━━━━━━━━━━━━━━━━━━━━━━━━━━┳━━━━━━━━━━━━━━━━━━━━━━━━━━━━━━━━━━━━━━━━━━━━━━━━━━━━━━━━━━━━━━━━━━━━━┓
┃ File                                       ┃ Previews                                                            ┃ Metadata                                                            ┃
┡━━━━━━━━━━━━━━━━━━━━━━━━━━━━━━━━━━━━━━━━━━━━╇━━━━━━━━━━━━━━━━━━━━━━━━━━━━━━━━━━━━━━━━━━━━━━━━━━━━━━━━━━━━━━━━━━━━━╇━━━━━━━━━━━━━━━━━━━━━━━━━━━━━━━━━━━━━━━━━━━━━━━━━━━━━━━━━━━━━━━━━━━━━┩
│ activity_per_state_epoch_data.csv          │ File: population_average_preview.svg                                │ Name: Num Cells                                                     │
│                                            │ - Caption: Average neural activity across state-epoch combinations. │ - Key: num_cells                                                    │
│                                            │ Bar                                                                 │ - Value: 76                                                         │
│                                            │ plot showing mean activity ± standard error for each state-         │                                                                     │
│                                            │ epoch combination.                                                  │ Name: Num States                                                    │
│                                            │                                                                     │ - Key: num_states                                                   │
│                                            │ File: event_average_preview.svg                                     │ - Value: 3                                                          │
│                                            │ - Caption: Average event rates across state-epoch combinations. Box │                                                                     │
│                                            │ plots showing event frequency distributions when event data         │ Name: Num Epochs                                                    │
│                                            │ is available.                                                       │ - Key: num_epochs                                                   │
│                                            │                                                                     │ - Value: 3                                                          │
│                                            │ ...                                                                 │                                                                     │
├────────────────────────────────────────────┼─────────────────────────────────────────────────────────────────────┼─────────────────────────────────────────────────────────────────────┤
│ correlations_per_state_epoch_data.csv      │ File: correlation_matrices_preview.svg                              │ Name: Num Cells                                                     │
│                                            │ - Caption: Pairwise Pearson correlation matrices between neurons    │ - Key: num_cells                                                    │
│                                            │ for                                                                 │ - Value: 76                                                         │
│                                            │ each state-epoch combination. Shows how neural correlations         │                                                                     │
│                                            │ change across different conditions.                                 │ Name: Num States                                                    │
│                                            │                                                                     │ - Key: num_states                                                   │
│                                            │ File: average_correlations_preview.svg                              │ - Value: 3                                                          │
│                                            │ - Caption: Bar plots showing average positive and negative          │                                                                     │
│                                            │ correlations                                                        │ Name: Num Epochs                                                    │
│                                            │ for each state-epoch combination. Provides summary                  │ - Key: num_epochs                                                   │
│                                            │ statistics of correlation patterns.                                 │ - Value: 3                                                          │
│                                            │                                                                     │                                                                     │
├────────────────────────────────────────────┼─────────────────────────────────────────────────────────────────────┼─────────────────────────────────────────────────────────────────────┤
│ modulation_vs_baseline_data.csv            │ ...                                                                 │ ...                                                                 │
├────────────────────────────────────────────┼─────────────────────────────────────────────────────────────────────┼─────────────────────────────────────────────────────────────────────┤
│ pairwise_correlation_heatmaps.h5           │ ...                                                                 │ ...                                                                 │
├────────────────────────────────────────────┼─────────────────────────────────────────────────────────────────────┼─────────────────────────────────────────────────────────────────────┤
│ spatial_analysis_pairwise_correlations.zip │ ...                                                                 │ ...                                                                 │
└────────────────────────────────────────────┴─────────────────────────────────────────────────────────────────────┴─────────────────────────────────────────────────────────────────────┘
Step 4: Generate Latest Bundle
Once output registration has been validated locally, generate a new bundle of the tool code to upload to IDEAS.
ideas tools bundle
Step 5: Upload, Test, and Publish New Version
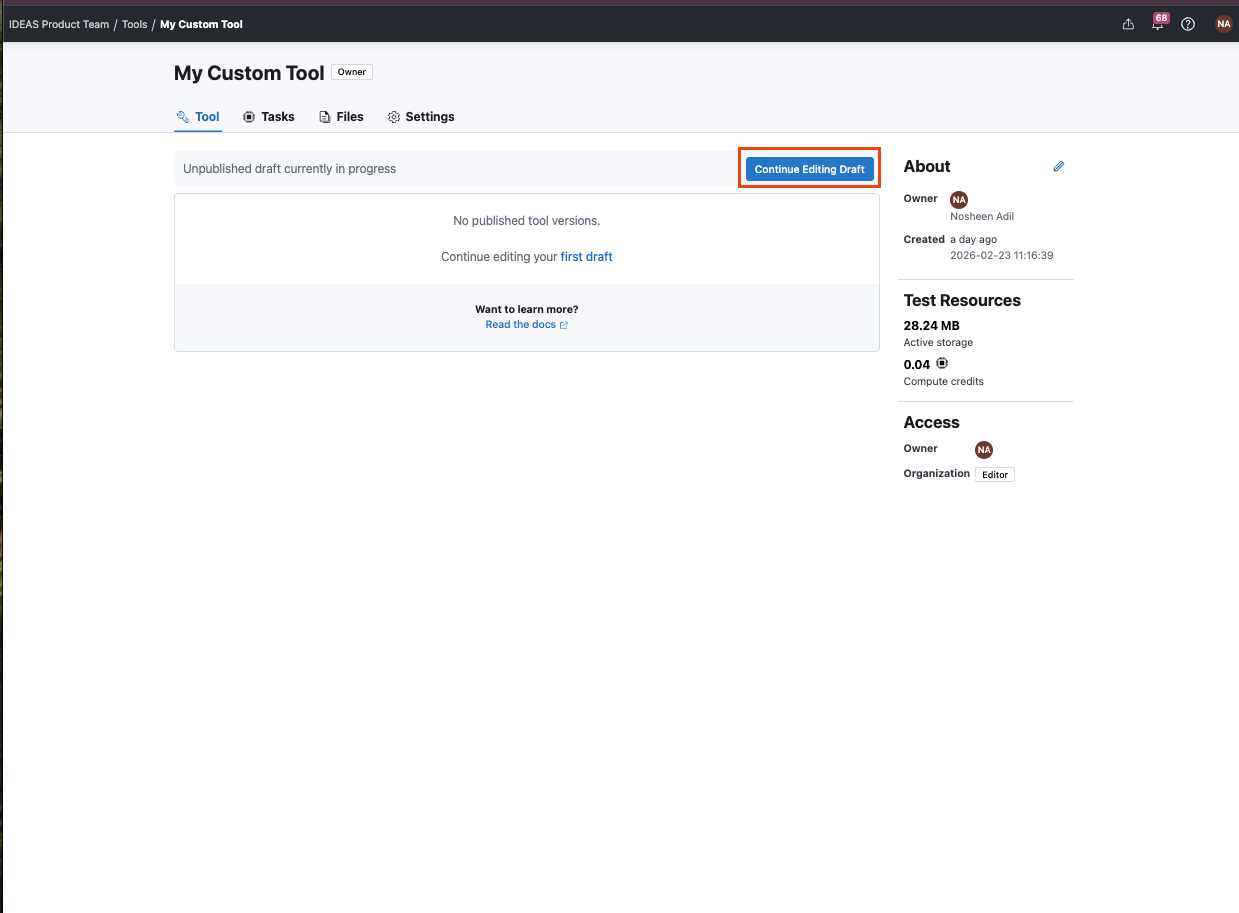
Go back to IDEAS and open the editor for the draft tool version.
Step 5a: Upload Latest Bundle
Upload the bundle, leave your parameter configuration unchanged, and if nothing else changed in your tool code aside from adding output registration, you should move on to the next step.
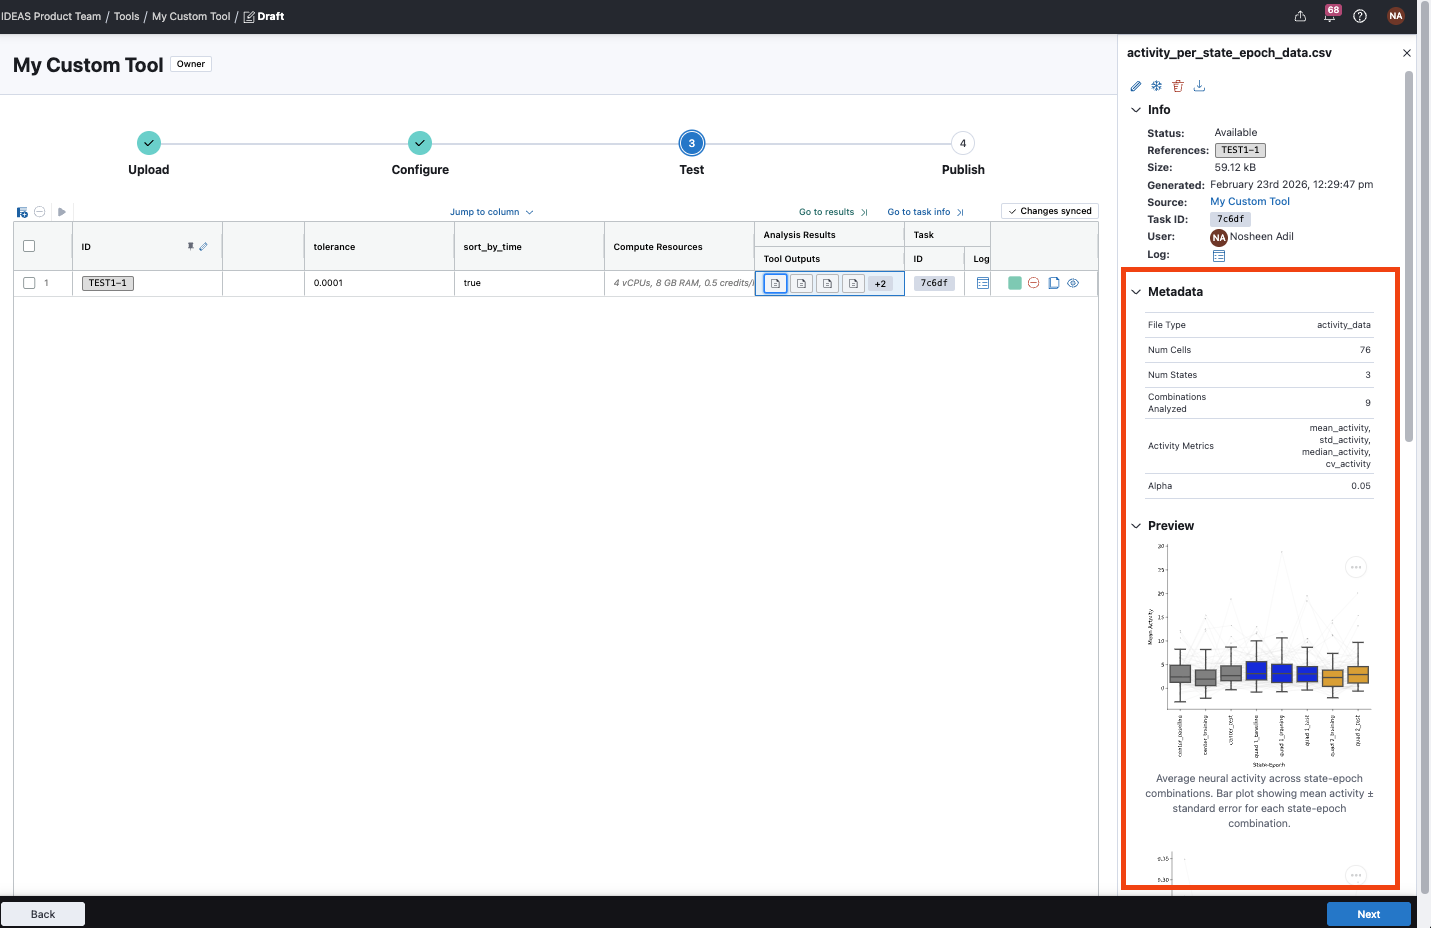
Step 5b: Test Output Generation
Run a task with some small test files (e.g., the same inputs you tested output generation with locally). Validate the result files appear in the output column of the test table, and the relevant previews, metadata, and tags appear when you select the result file in the test table.
Step 5c: Publish New Version
Move to the final step in the editor and publish the new version. If the output results generated by the tool are identical to the previous version and the only change is adding annotations to the result files, then it's recommended to update the MINOR version of the tool. On the other hand if the output results have changed significantly since the previous version, then it's recommended to update the MAJOR version of the tool.
Once the new tool version is published it can be used within any projects within your organization.