Creating a project
The first step in using IDEAS is to create a project. A project contains one or more data and analysis tables.
Data tables contain data (e.g., metadata) relating to your project while analysis tables contain the input files and parameters used to
execute the analysis tool along with the analysis results. Use the linking and joining features to associate data between tables.
Watch the following demo briefly walking though creating a project.
Creating a new project
To create a new project, click on the Create New Project as shown below:

This brings up a panel where you provide the name of the project and select an organization. Next you can edit the suggested URL for your project. Note that once set, the URL cannot be modified. Finally, you can also choose to enter a short description and icon color.
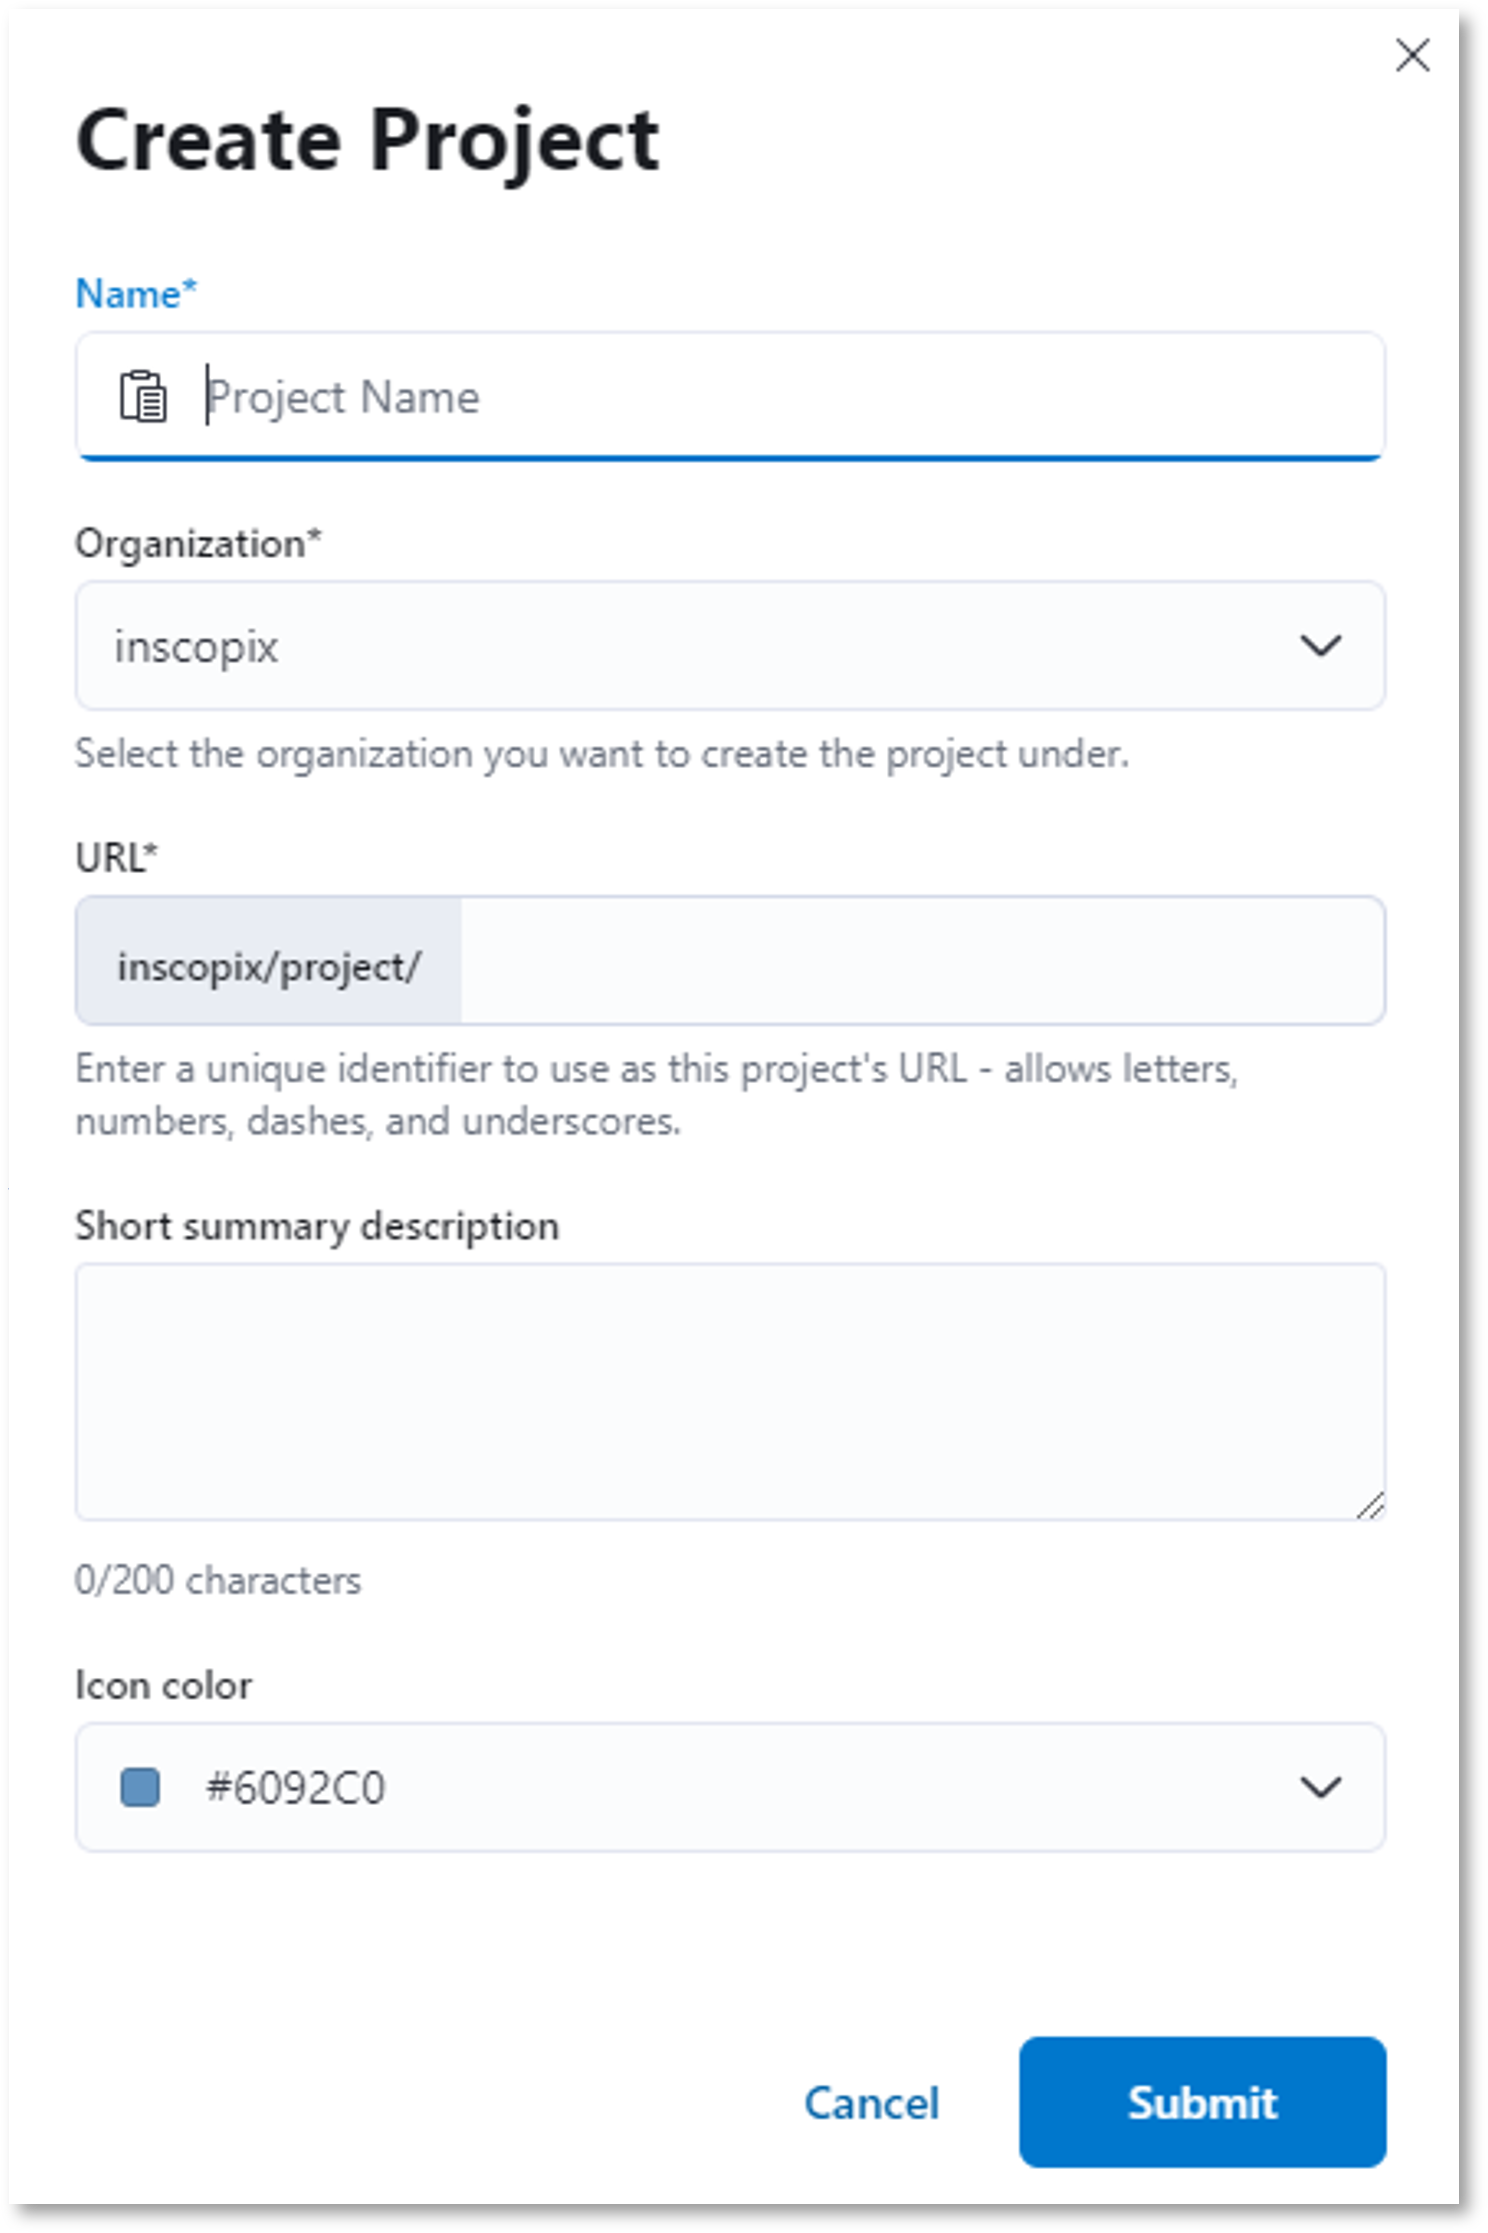
Clicking Submit will navigate you to the project home page.
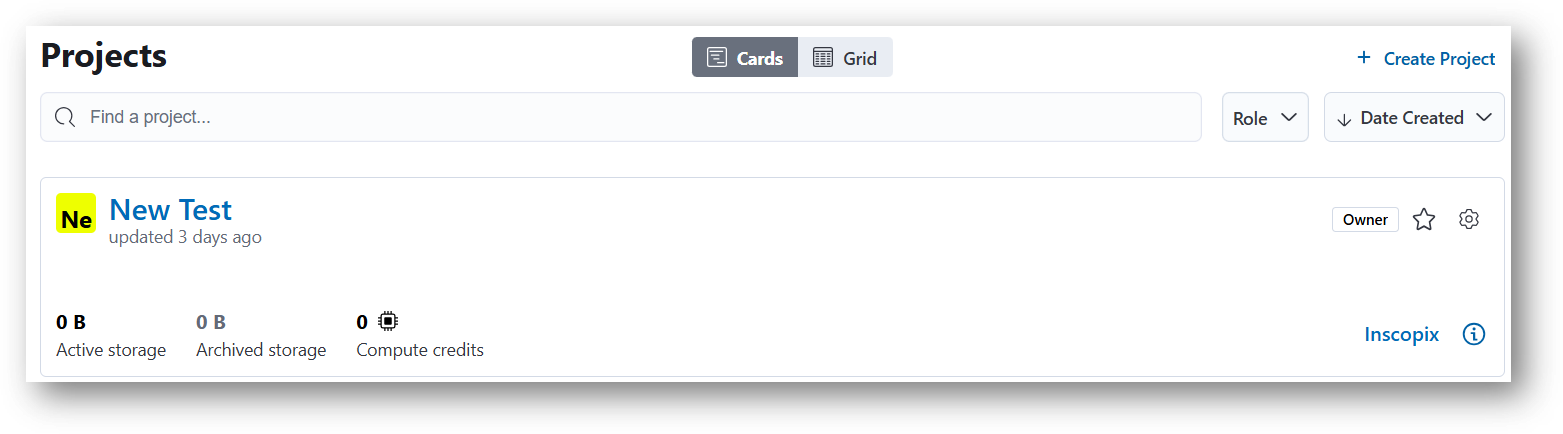
New projects will appear on the user/organization home pages as shown in the following example.
Project page
Clicking on a project takes you to the project home page, where you can:
The project page has the following sections:
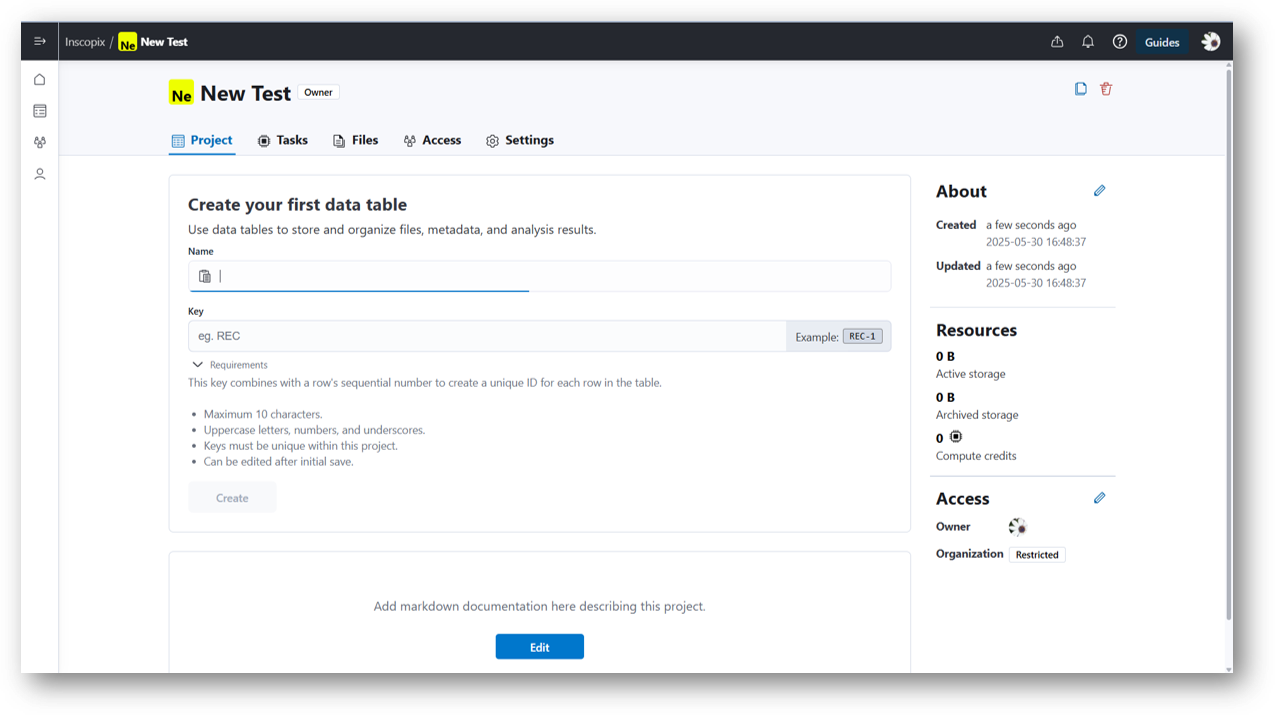
Project
The Project tab is where you'll find all data and analysis tables as well as general information about your project.
Note that unique icons help distinguish ![]() data tables from
data tables from ![]() analysis tables.
You may add data tables or analysis tables as well as organize your tables into folders using the + Add button. See
Creating data tables and Analyze data for more details on creating tables.
analysis tables.
You may add data tables or analysis tables as well as organize your tables into folders using the + Add button. See
Creating data tables and Analyze data for more details on creating tables.
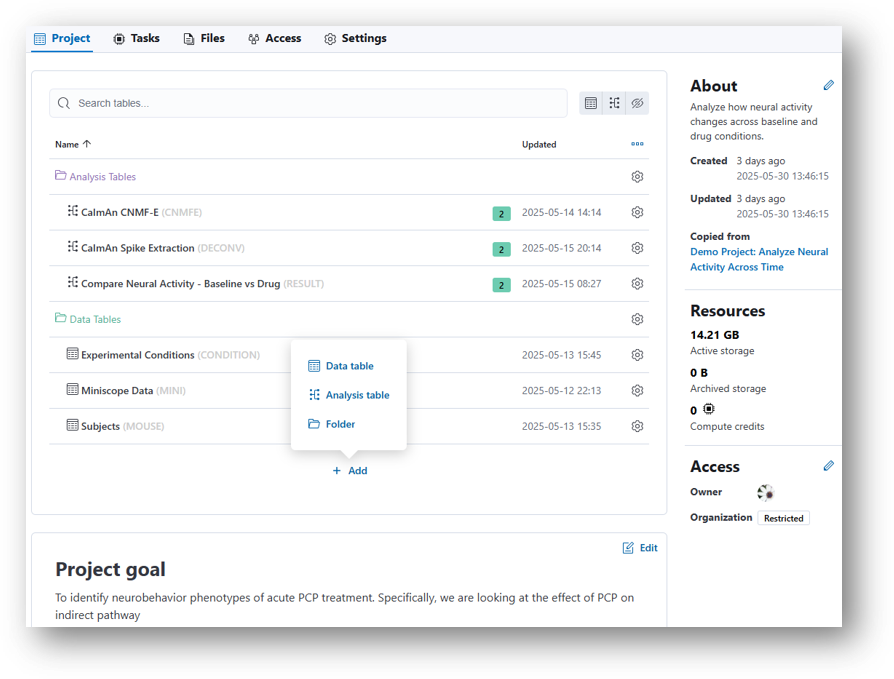
Tables can be easily searched using the search bar. Use the icons at the top right to quickly filter the tables to show or hide by table type (e.g., show only data tables) or to show/hide hidden tables.

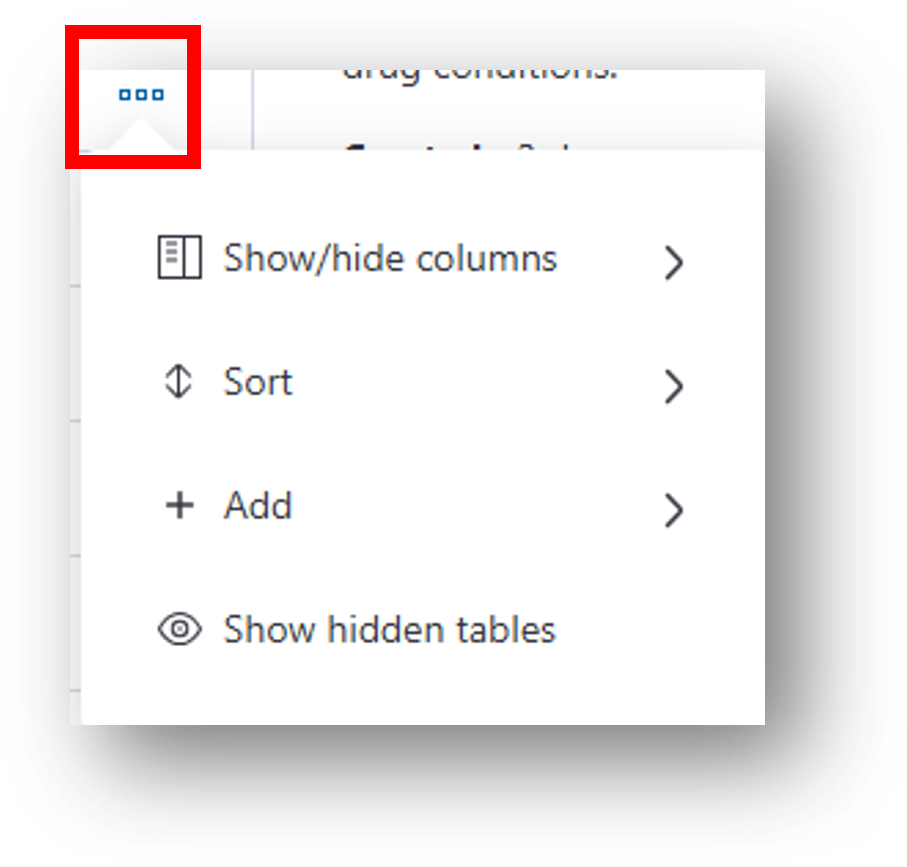
Use the ![]() icon to customize which columns
are visible, sort tables (by name, created/updated dates, type or user), add a table or folder, and show/hide hidden tables. Tables
can also be sorted by simply clicking on a column in the table.
icon to customize which columns
are visible, sort tables (by name, created/updated dates, type or user), add a table or folder, and show/hide hidden tables. Tables
can also be sorted by simply clicking on a column in the table.
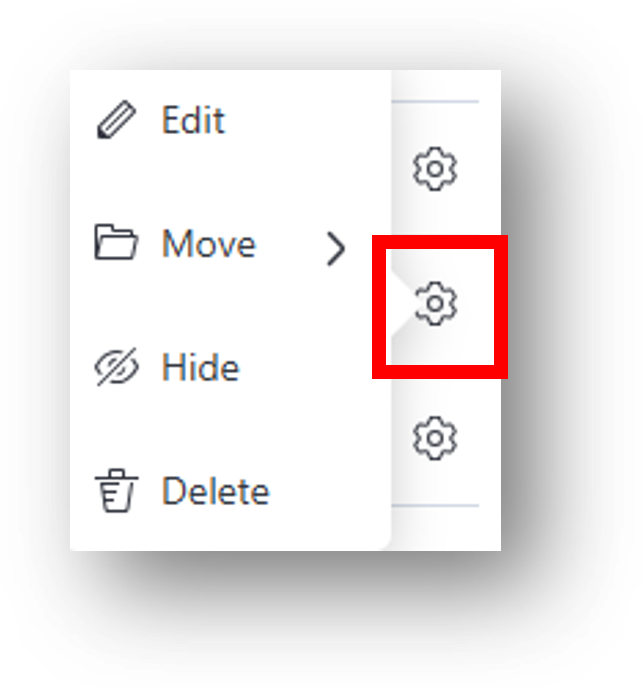
Use the ![]() icon to edit, move, hide or delete tables.
Alternatively, use the gear icon to edit folders, add another table to a folder or delete folders.
Note that deleting a folder will delete all contents within the folder!
icon to edit, move, hide or delete tables.
Alternatively, use the gear icon to edit folders, add another table to a folder or delete folders.
Note that deleting a folder will delete all contents within the folder!
The right panel contains descriptive information about your project including the creation/last updated dates, what resources have been consumed by the project, who is the project owner, and what is the project permission level for those within the organization. By default, new projects will be set as Restricted. See how to Share a project with other individuals.
The bottom panel allows you to add a description to your project using markdown syntax.
What goes in the project description?
Use the project description to capture information about the project that you would typically put in a lab notebook. For example, the scientific question being asked, the experimental strategy, etc.
Tasks
Tasks performed when running analysis tools can be found under the Tasks tab. Information about each task includes:
- Date for running the task
- User who performed the task
- Source of the task (links to the corresponding analysis table can be found here)
- Row ID
- Task status
- Logs for the task (click the icon to view or download the logs)
- Task ID
- Duration it took for the task to complete
- Compute credits used for the task

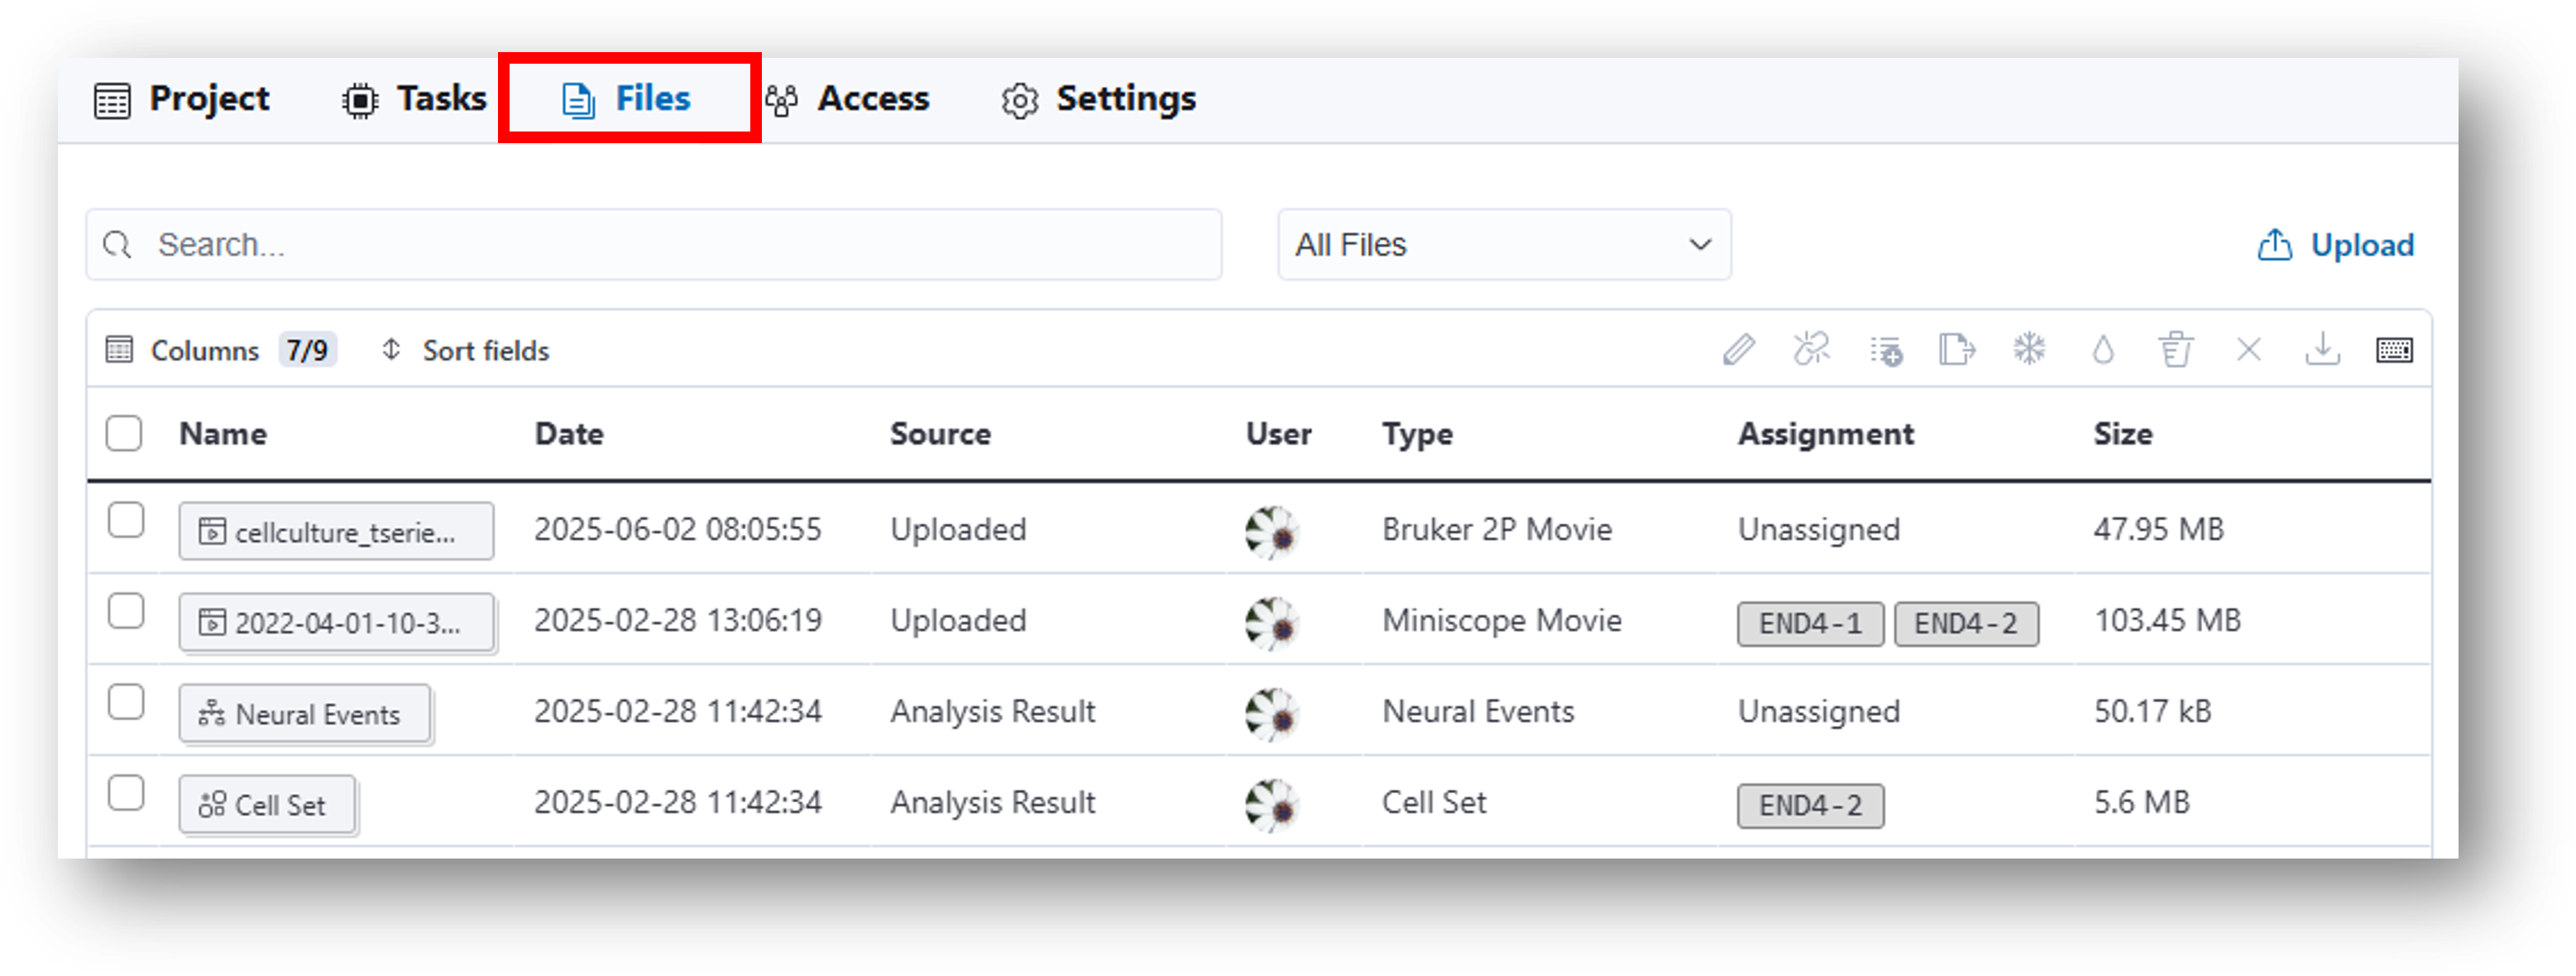
Files
The files tab opens the File Browser which can be used to view and organize files uploaded to your project.
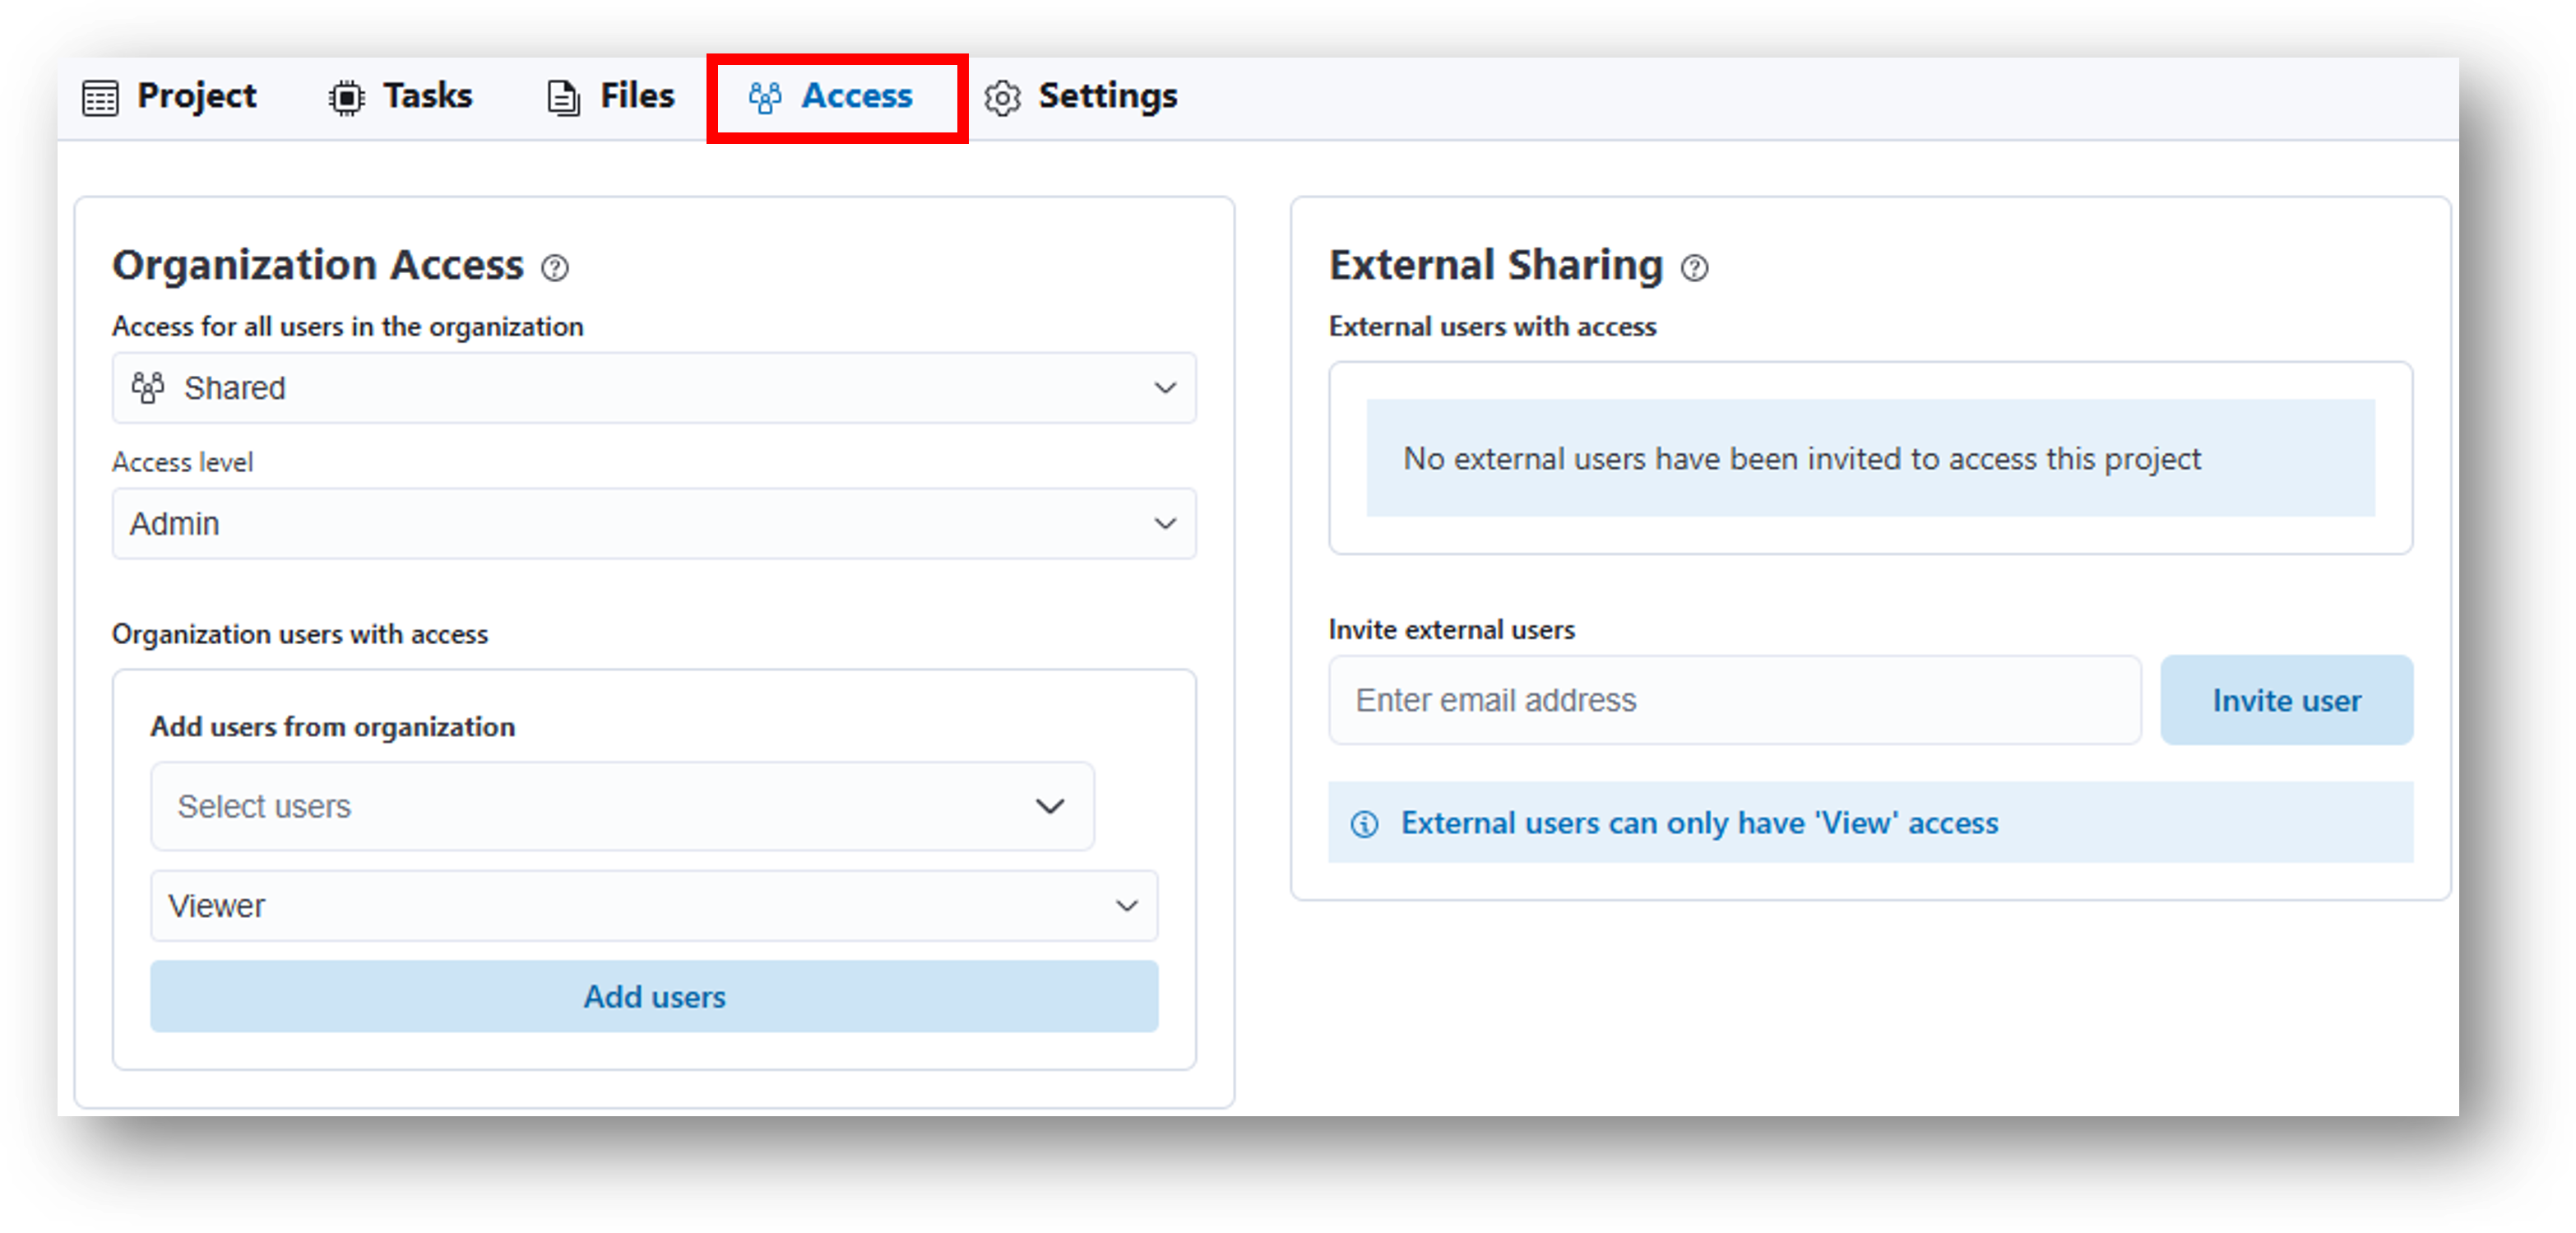
Access
The access tab is where you can Share Projects with other individuals.
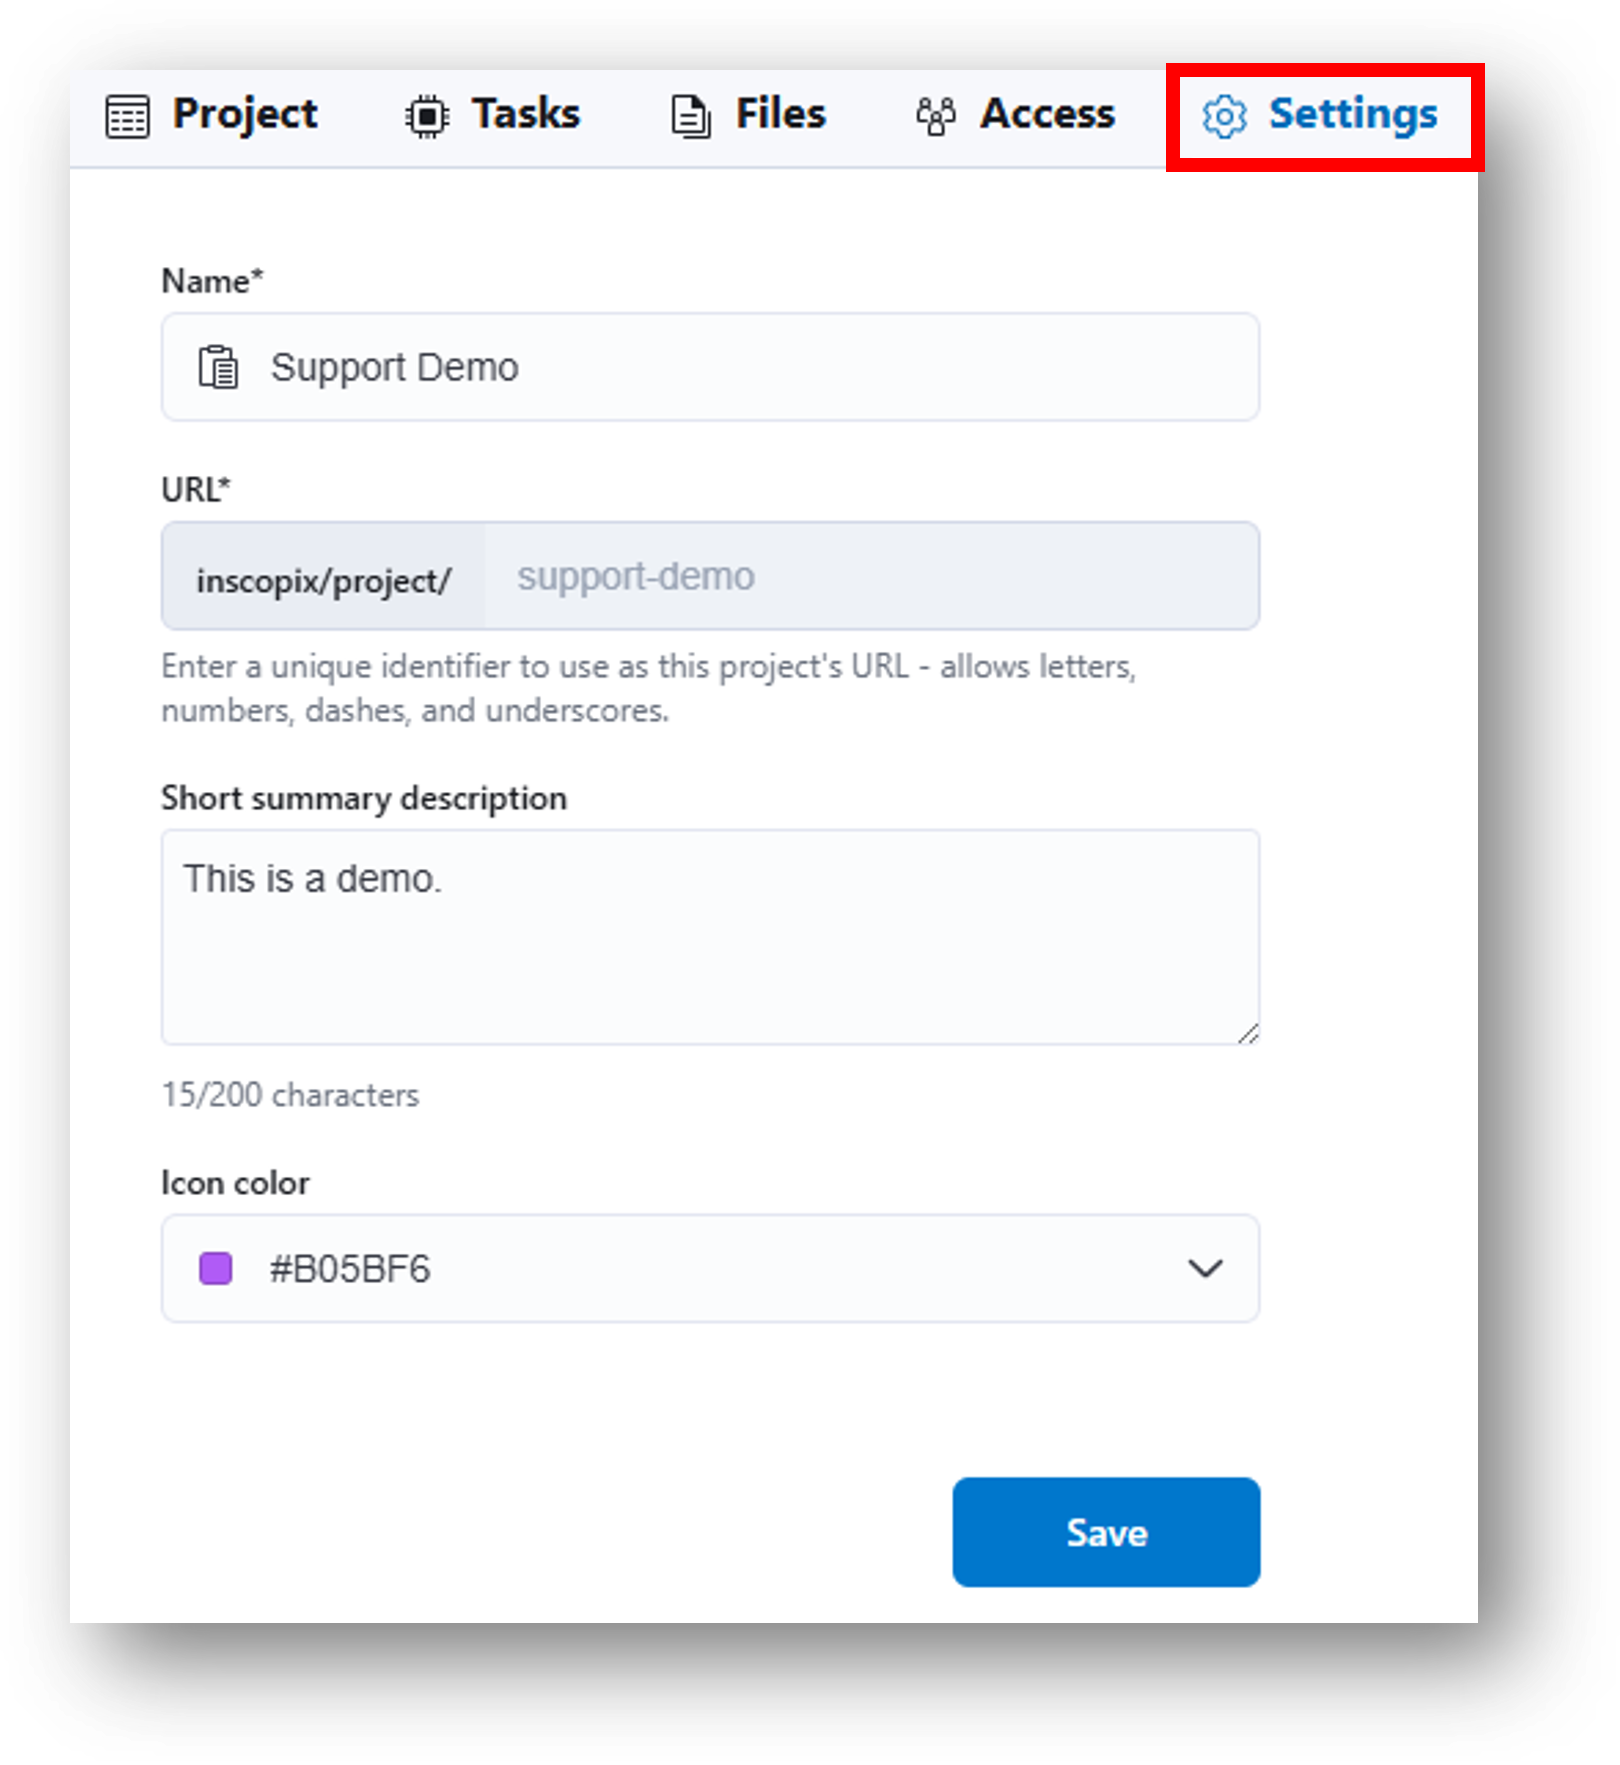
Settings
The settings tab is where you can edit the settings you configured upon project creation. You may edit the project name, the description, and the icon color associated with the project.
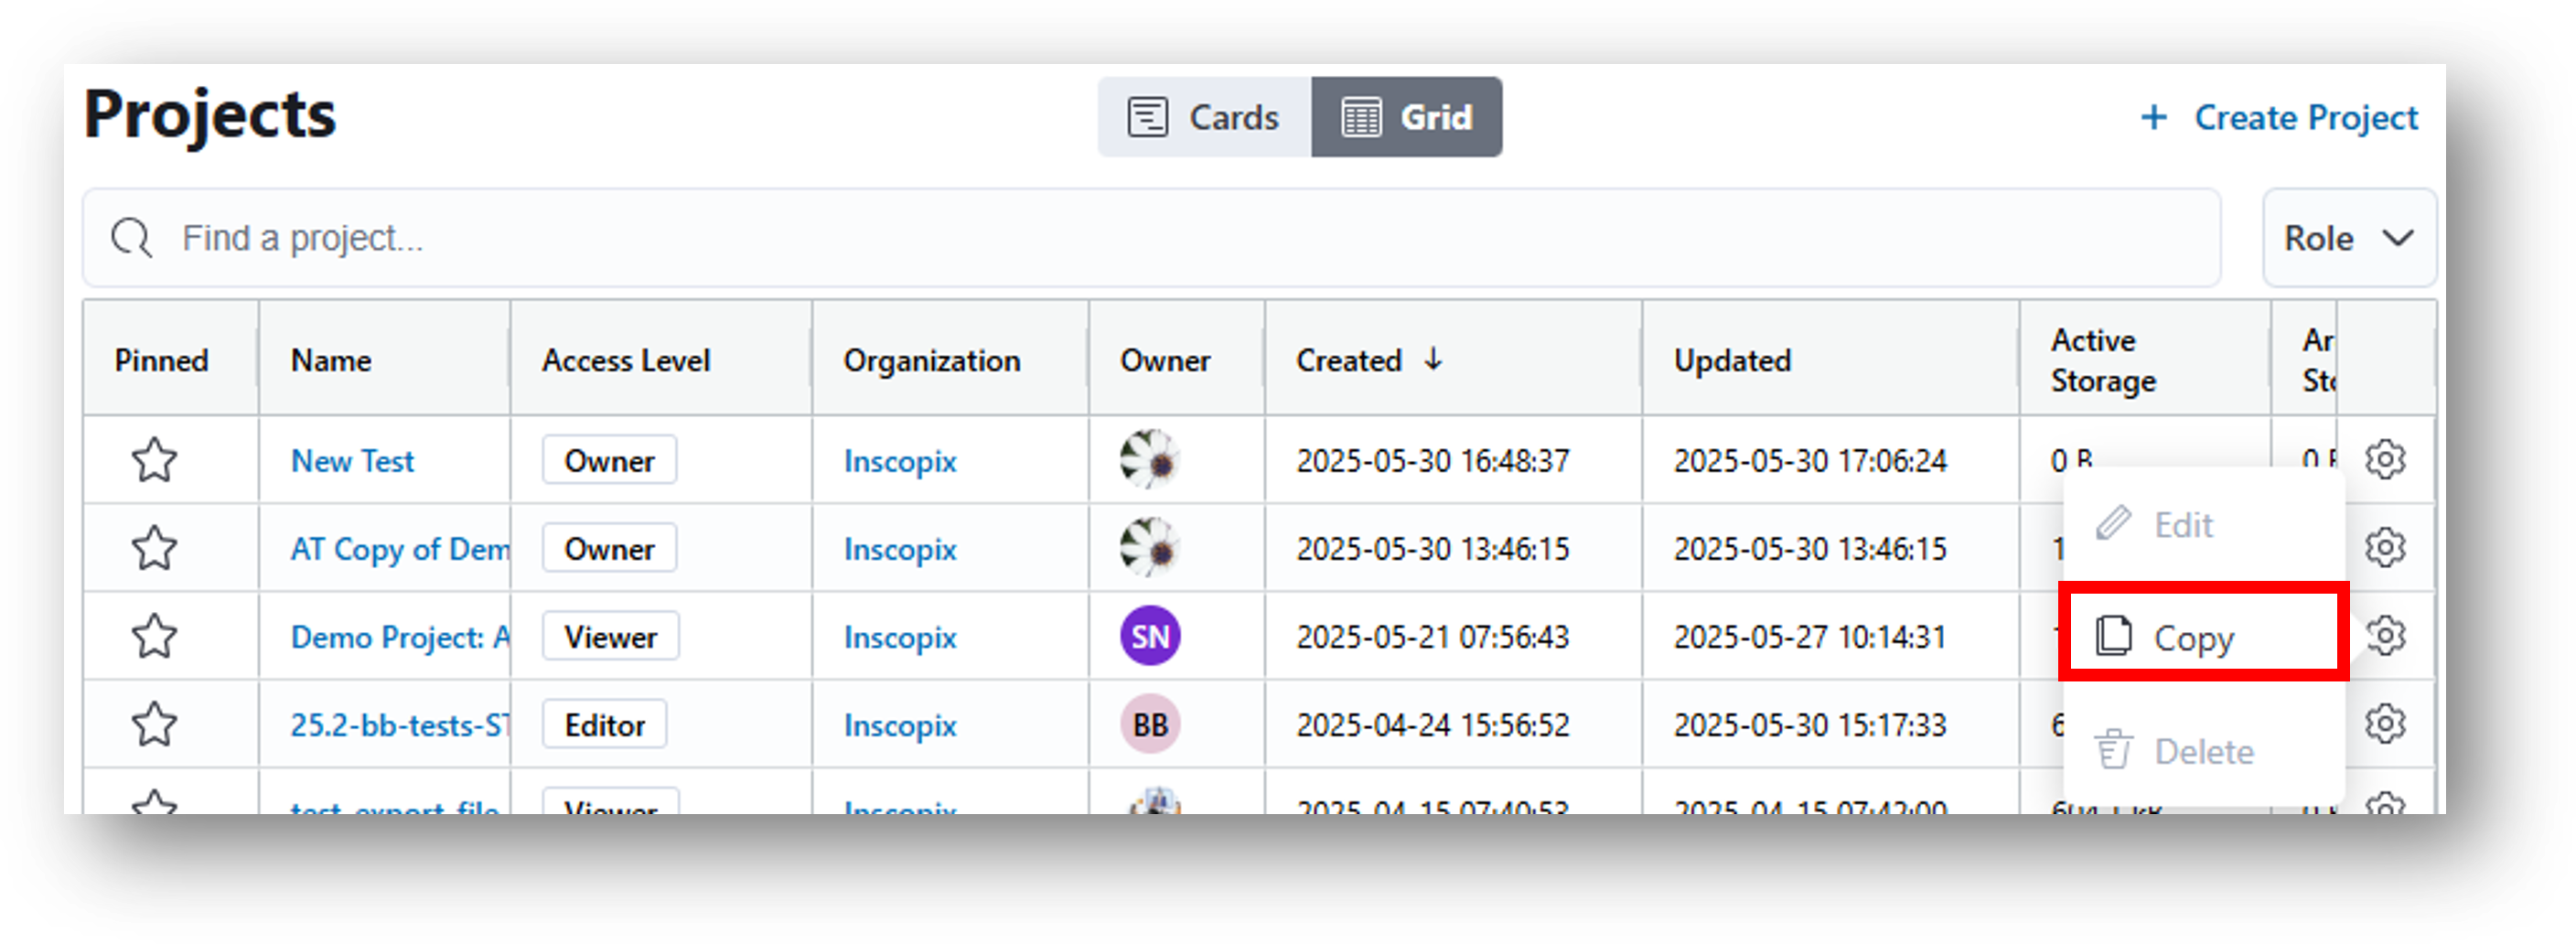
Copy Projects
You can copy a project from the Home Page by clicking the ![]() gear icon associated with the
project you want to copy. In the example below, Demo Project will be copied.
gear icon associated with the
project you want to copy. In the example below, Demo Project will be copied.
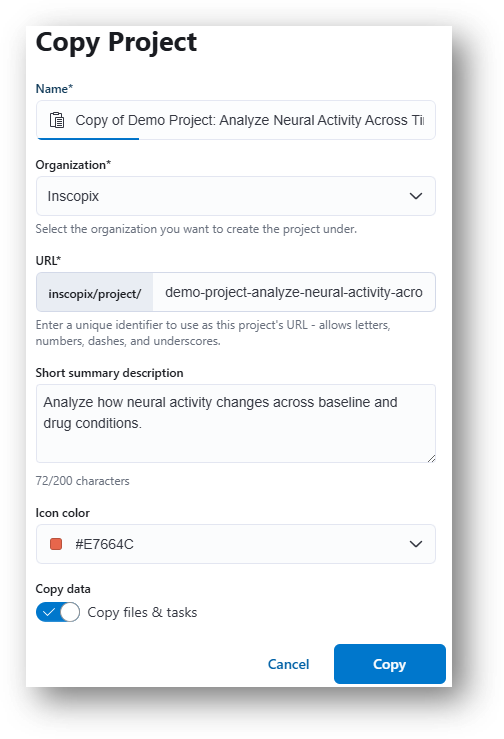
Use the Copy Project pop-up window (see image below) to configure the following properties:
- Name for the copied project
- Organization where the copied project will be placed
- (optional) Enter a description
- (optional) Select an icon color for the copied project
- Copy data Select whether to copy a project with or without it's data. Copying projects without data allows you to use the project as a template.
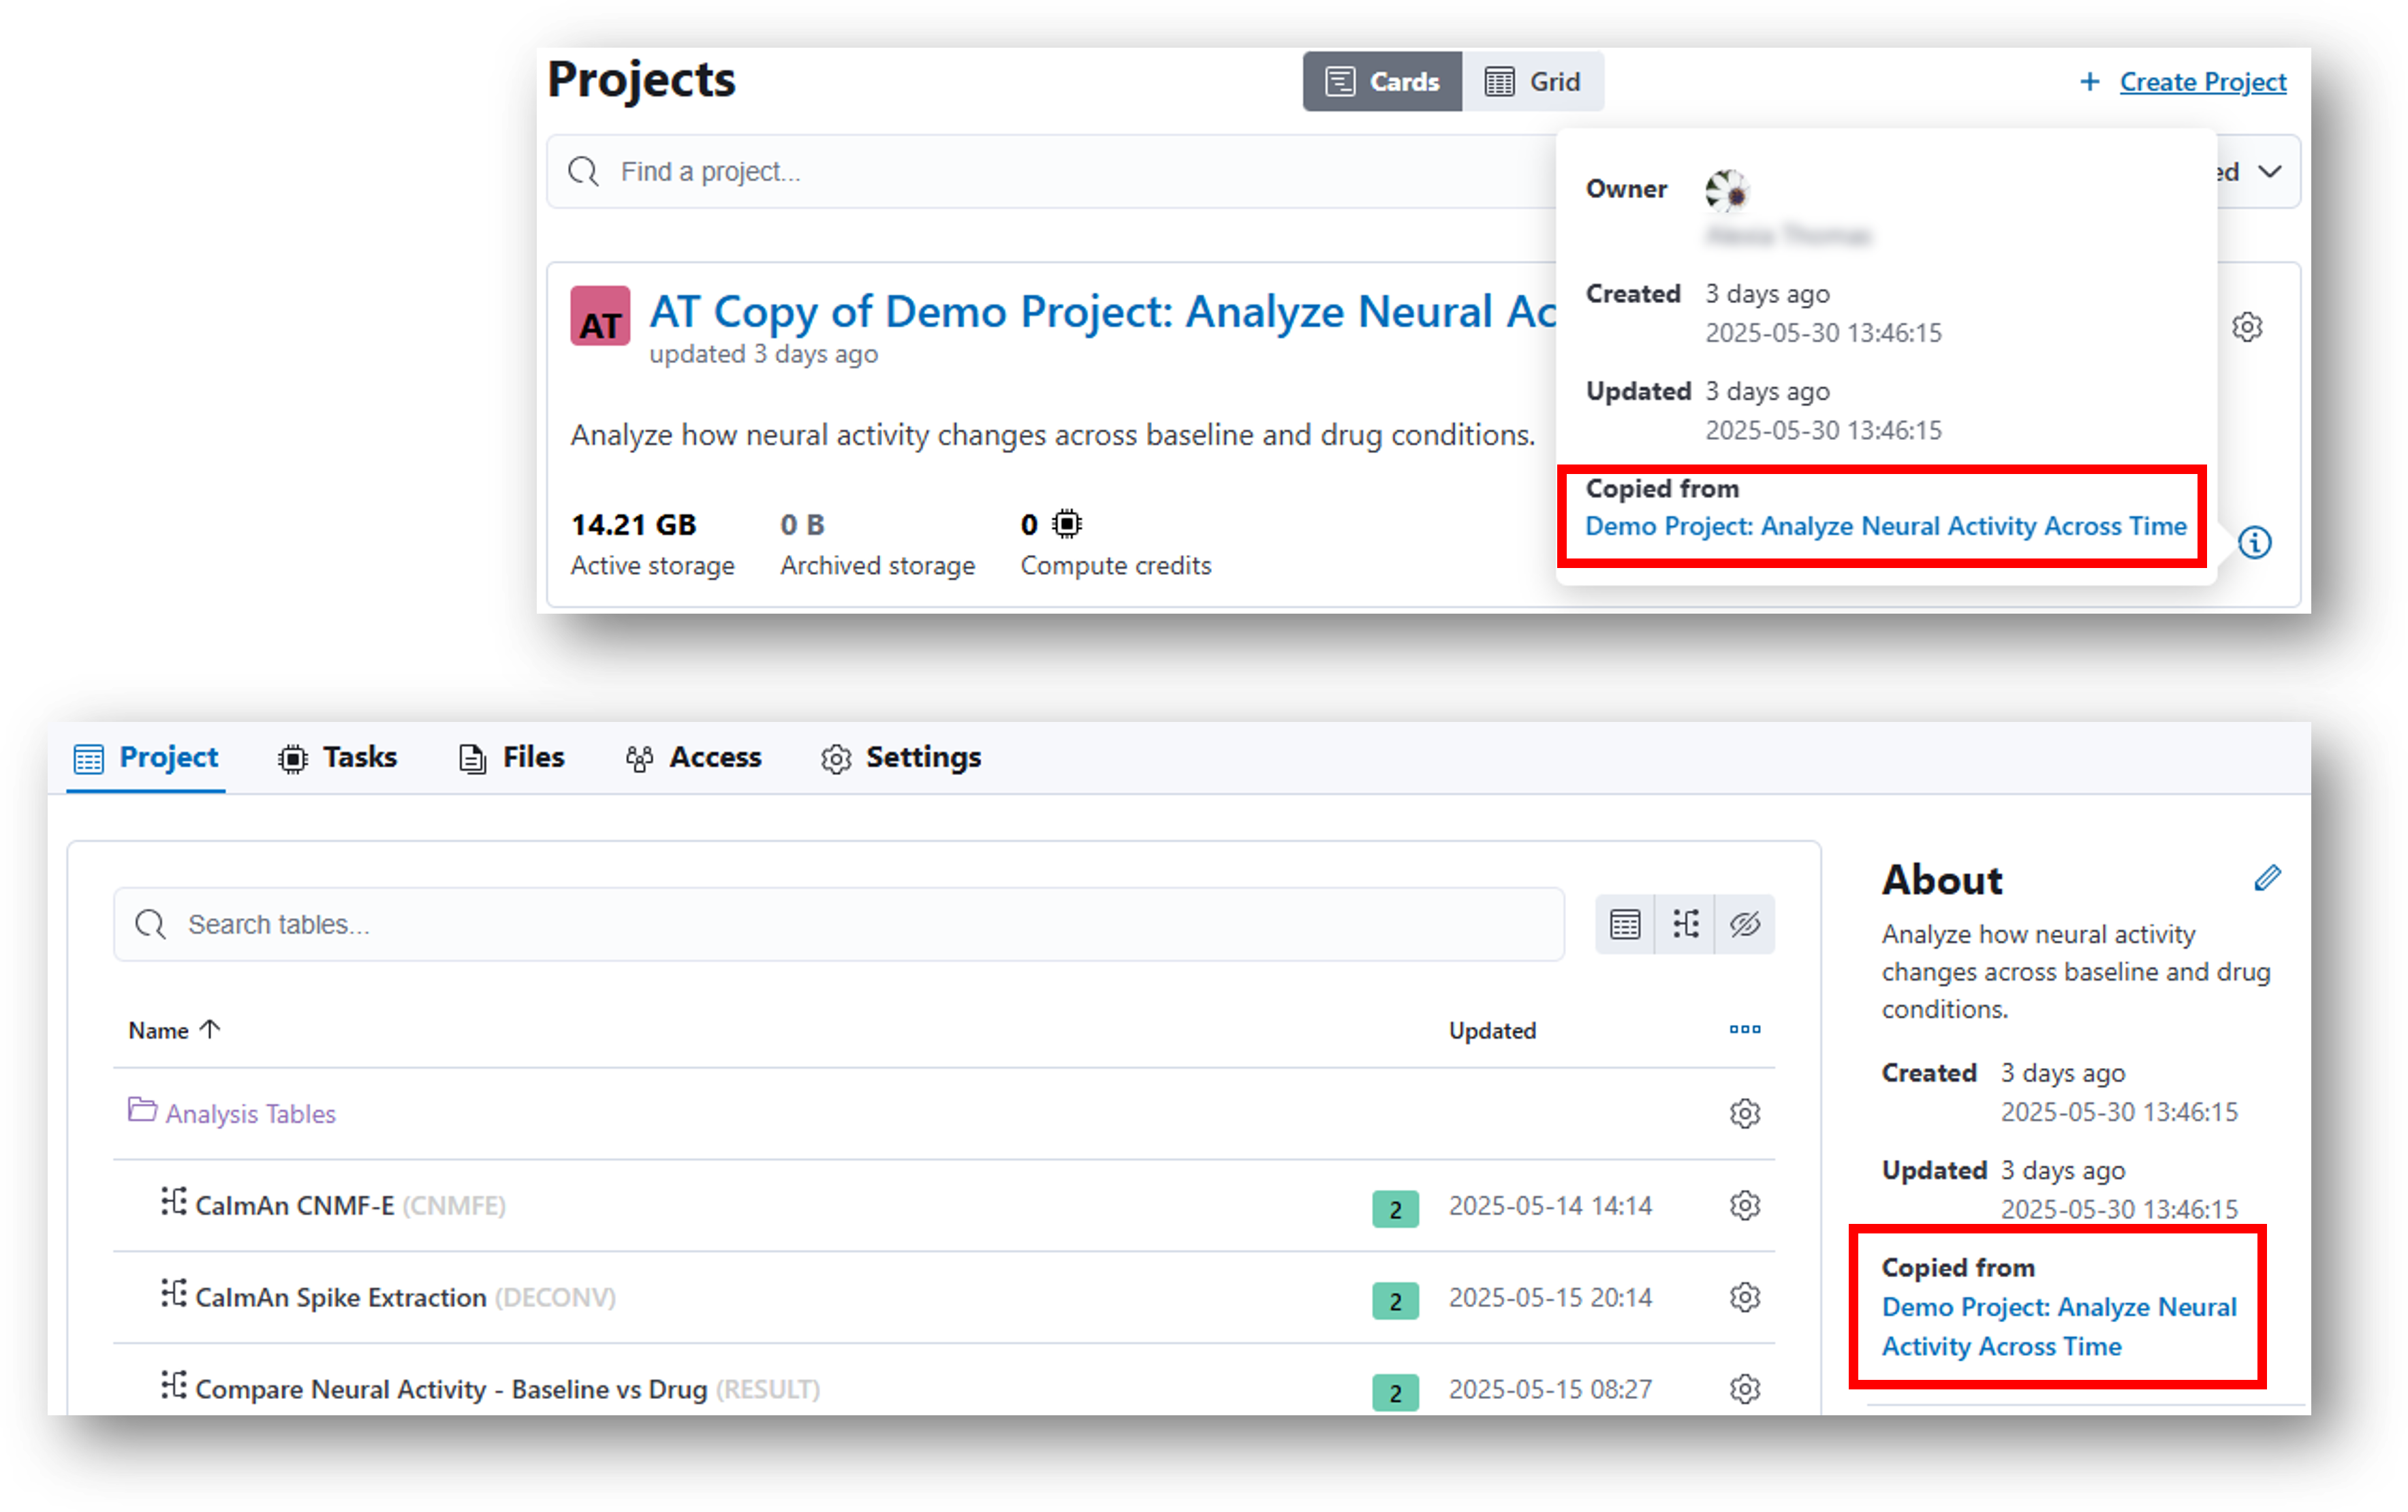
View where a project is copied from using the info icon on the Home Page (card view only) or from the project page as shown below.
Key points when copying projects:
- You can copy a project regardless of your sharing access (you can copy projects whether you are the owner, editor or viewer).
- The copied project will take up space in your organization or in the organization you are copying it into.
- Once copied, the copied project is entirely separate from the original project (similar to when duplicating a folder on a computer). There is no syncing between them.
- After copying, the user who performs the copying action becomes the owner of the copied project.
- Projects cannot be copied across geographic regions (US, Europe, Japan).
Notes
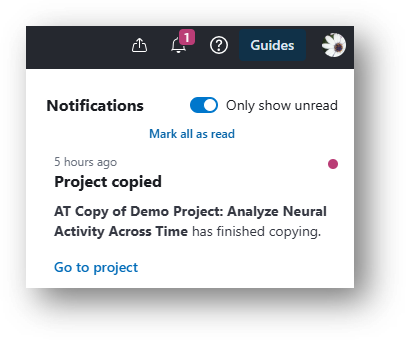
Copying can take time! The process occurs in the background so you can leave the project or close the browser page as the copying will continue on the cloud. Once the copying is complete, you will receive a notification as shown in the example below.
If storage runs out during the process of copying, you may encounter a notification.